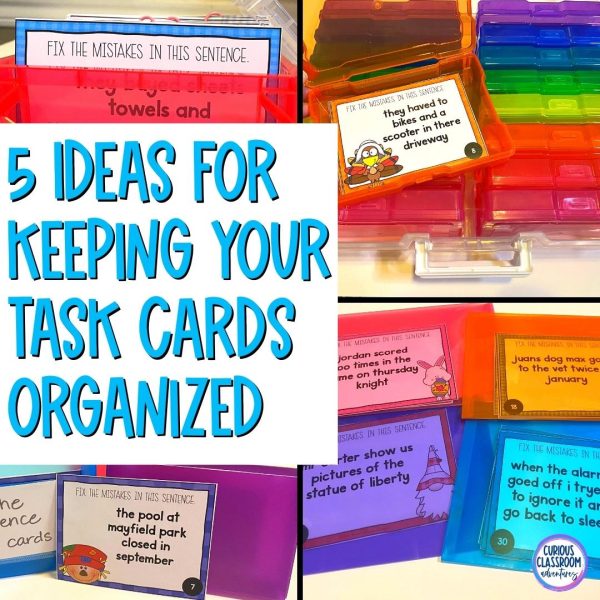
Here is a fun and helpful guide on how to keep your task cards organized and ready to go for the next lesson. As an upper elementary teacher, you know that task cards can be a lifesaver. They are an easy way to give students practice with their skills while also working on their independent work habits. But after the first time you use them, have you ever been stuck trying to figure out how to keep those task cards organized and ended up just throwing them in a zip-loc baggie? Have no fear! Read on for my favorite task card organization options.
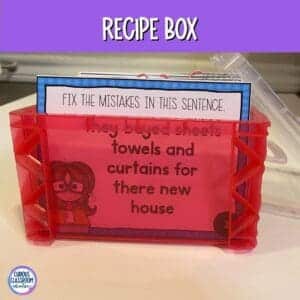
Recipe Box System
This one might sound a bit old-fashioned but it is actually quite effective. And these aren’t your Grandma’s recipe boxes. You can easily find them in colorful classroom colors at Walmart or Target. You can use recipe boxes to store your task cards in categories so that you can easily find what you need when the time comes. Just label each box with the subject matter, and then place all related task cards inside. I like that these are deep enough to hold several sets of task cards so I can task cards about the same topic together in one place.
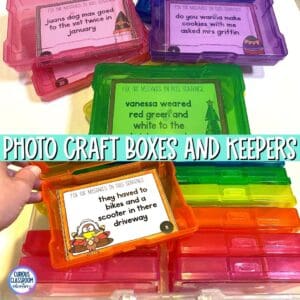
Photo Craft Boxes and Keepers
This is probably the most expensive system, but also my favorite! These boxes have dividers so that you can separate different topics or activities, as well as clear lids that allow you to quickly scan through your collection of cards without having to open each box individually. They are the perfect size for quarter-page task cards. The hard case is sure to keep your task cards in good condition for a long time plus it just looks neat and tidy!
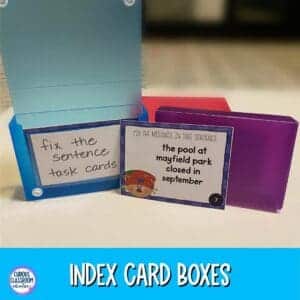
Index Card System
If you don’t have a lot of space, then an index card system may be just what you need in order to keep your task cards neat and organized. All you need is an index card box with labeled dividers. You can arrange these by topic or activity and store them in the box until needed. The benefit of this system is that you can keep task cards of similar skills or topics together. The downside of this one is that index card boxes are a little smaller than a quarter page, so they only work on task cards that are 3 in x 5 in.

Plastic Sleeves
Another great way to get your task cards organized is by using plastic sleeves in which to store them. Simply slip each set of task cards into its own sleeve, label it if desired, and then place them in a folder or binder until ready for use! The upside is that these are inexpensive and hold up fairly well. They also stack nicely and are easy to transport.
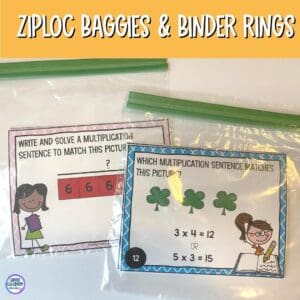
Baggies and Binder Rings
Binder rings are great because they give you more flexibility when it comes to getting your task cards organized into groups or categories. Simply insert each set of cards onto a binder ring. You can use colored tape to differentiate between different topics or activities. This system also allows for easy grab-and-go when you need to hang a new set of task cards at a learning station. And don’t forget about good-old sandwich baggies–they might not hold up well, but they are super cheap and can still get the job done in a pinch.
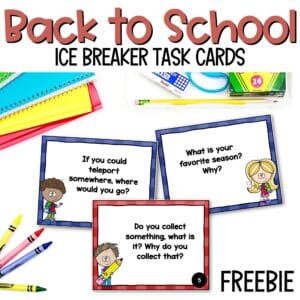
Now that you have few ideas for storing your task cards, you can expand your collection! No doubt you will have to spend a little money on your organization system, so here is a FREE set of task cards to offset your budget!
If you are looking to add task cards to all your holiday celebrations you can check out seasonal and holiday task cards in my TPT store or in my website store.
No matter which option above works best for your classroom needs, organizing your task cards will save time and energy while helping provide students with more meaningful learning experiences! And who knows—maybe this newfound organization will inspire some additional creativity along the way! So go ahead—take some time today to get those pesky little task cards organized once and for all! Happy teaching!

